Create a Project with Movie Data
Learn how to use GraphGrid by transferring your graph data into the GraphGrid Dashboard. The Dashboard is where projects can be created to visualize and interact with your knowledge graphs using GraphGrid. The goal of this tutorial is to interact with the GraphGrid Dashboard by setting up a movie graph that we will create in ONgDB. The Search and Showme tutorials are built off of this one so make sure you have success with these basics!
Learn better by seeing it done? Follow along with our Movie Database video tutorial
Prepare the Graph
Data triggers must be set for the Dashboard Environment before ONgDB can transfer any data. This is set
up through GraphGrid Manager via the /addTriggersForEnvironment endpoint. We'll want to prepare the graph environment first before creating our data to ensure
that the data will be recognized by the Dashboard.
Add Trigger for Environment API Request
curl --location --request POST "${API_BASE}/1.0/manager/environment/addTriggersForEnvironment" \
--header "Authorization: Bearer ${BEARER_TOKEN}"
Create Movie Graph
Next, log in to ONgDB. If you do not already have ONgDB running in your browser, navigate to localhost:7474. If you did not change the default password and
username for ONgDB, use username: ONgDB and password: admin to log in. You can find the username and password for ONgDB in the data/env directory in the
package.
Once successfuly logged in, run :play movie graph in the query bar. This query will open up a guide to the "Movie Graph" application. Follow along through the
second step where the movie data is queried and created. If you run the Geequel query MATCH (m:Movie) RETURN m you should see a bunch of Movie nodes! Click on
them to expand their relationships to Person nodes.
Set Nodes to Use The GraphGridResource Node Label
Recall the first step of this tutorial when we set the data triggers with the /addTriggersForEnvironment endpoint. The GraphGrid Dashboard's environment trigger
is set to recognize nodes using the GraphGridResource node label. To get our movie database to show up in the dashboard, we need to target nodes that have a the
labels "Movie" and "Person" and add the GraphGridResource node label to them.
To add the GraphGridResource label to our movie database nodes, run this query in ONgDB:
MATCH (n) WHERE n:Movie OR n:Person SET n:GraphGridResource
This step is very important! The dashboard will not visually add any nodes unless they are set to use the GraphGridResource node label.
Add Data to The Dashboard
Now we're ready to log in to the Dashboard. You can find the Dashboard on port 80 of your environment server. For example, if you are using your local environment
you can find it at localhost:80. You can also get there by visiting localhost/login. If you have not updated the username and password via GraphGrid Security,
log in with the default username and password.
Default username: graphgrid
Default password: graphgrid
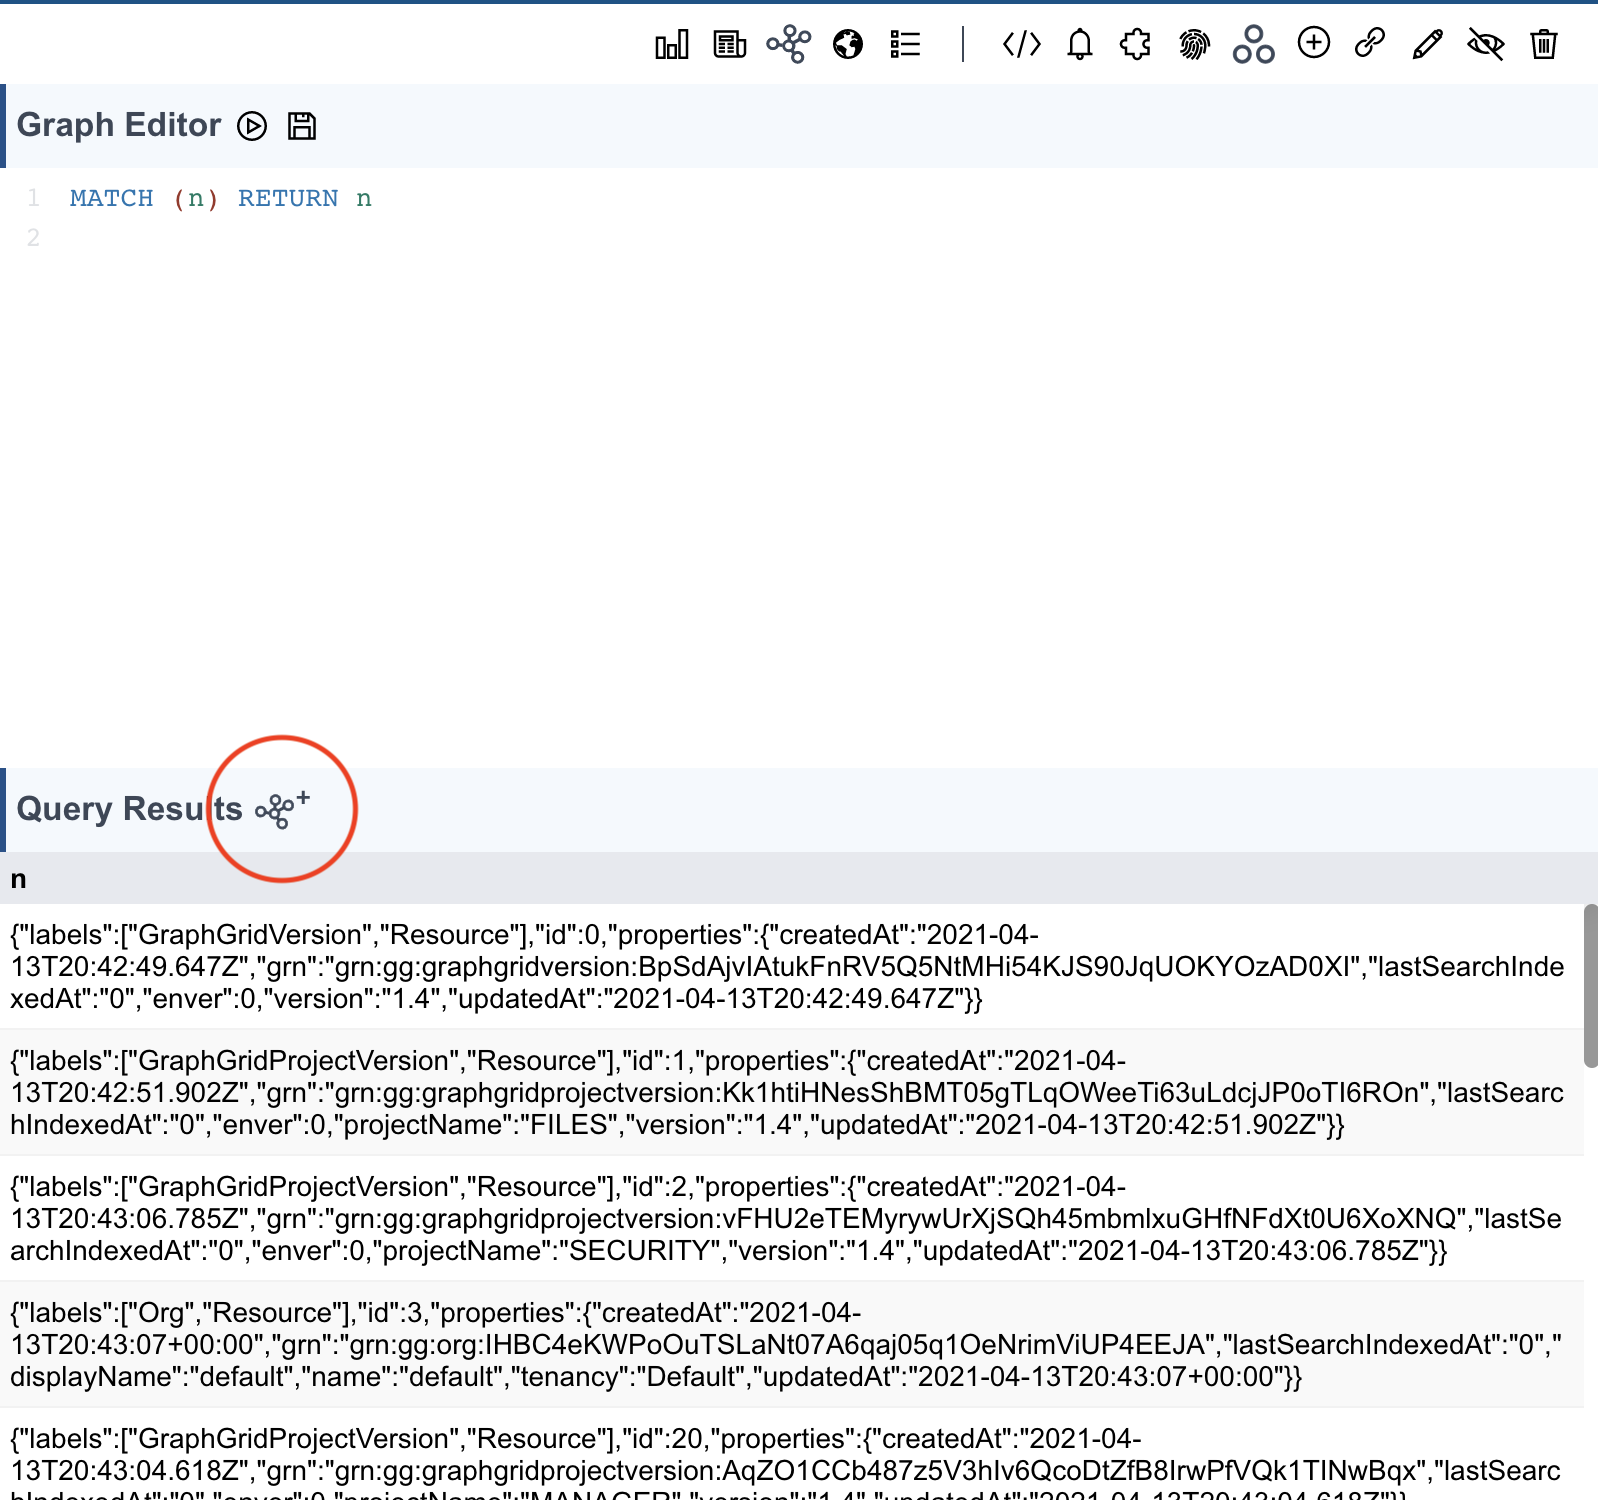
Once logged in, create an empty Project called "Movie Database". Next, execute a Geequel query using the graph query editor. To get to the editor, click the </>
button.

Once in the editor, run this Geequel query to return all of the nodes on your graph:
MATCH (n) RETURN n
To render the Movie Database query results visually, click add query results
to add all
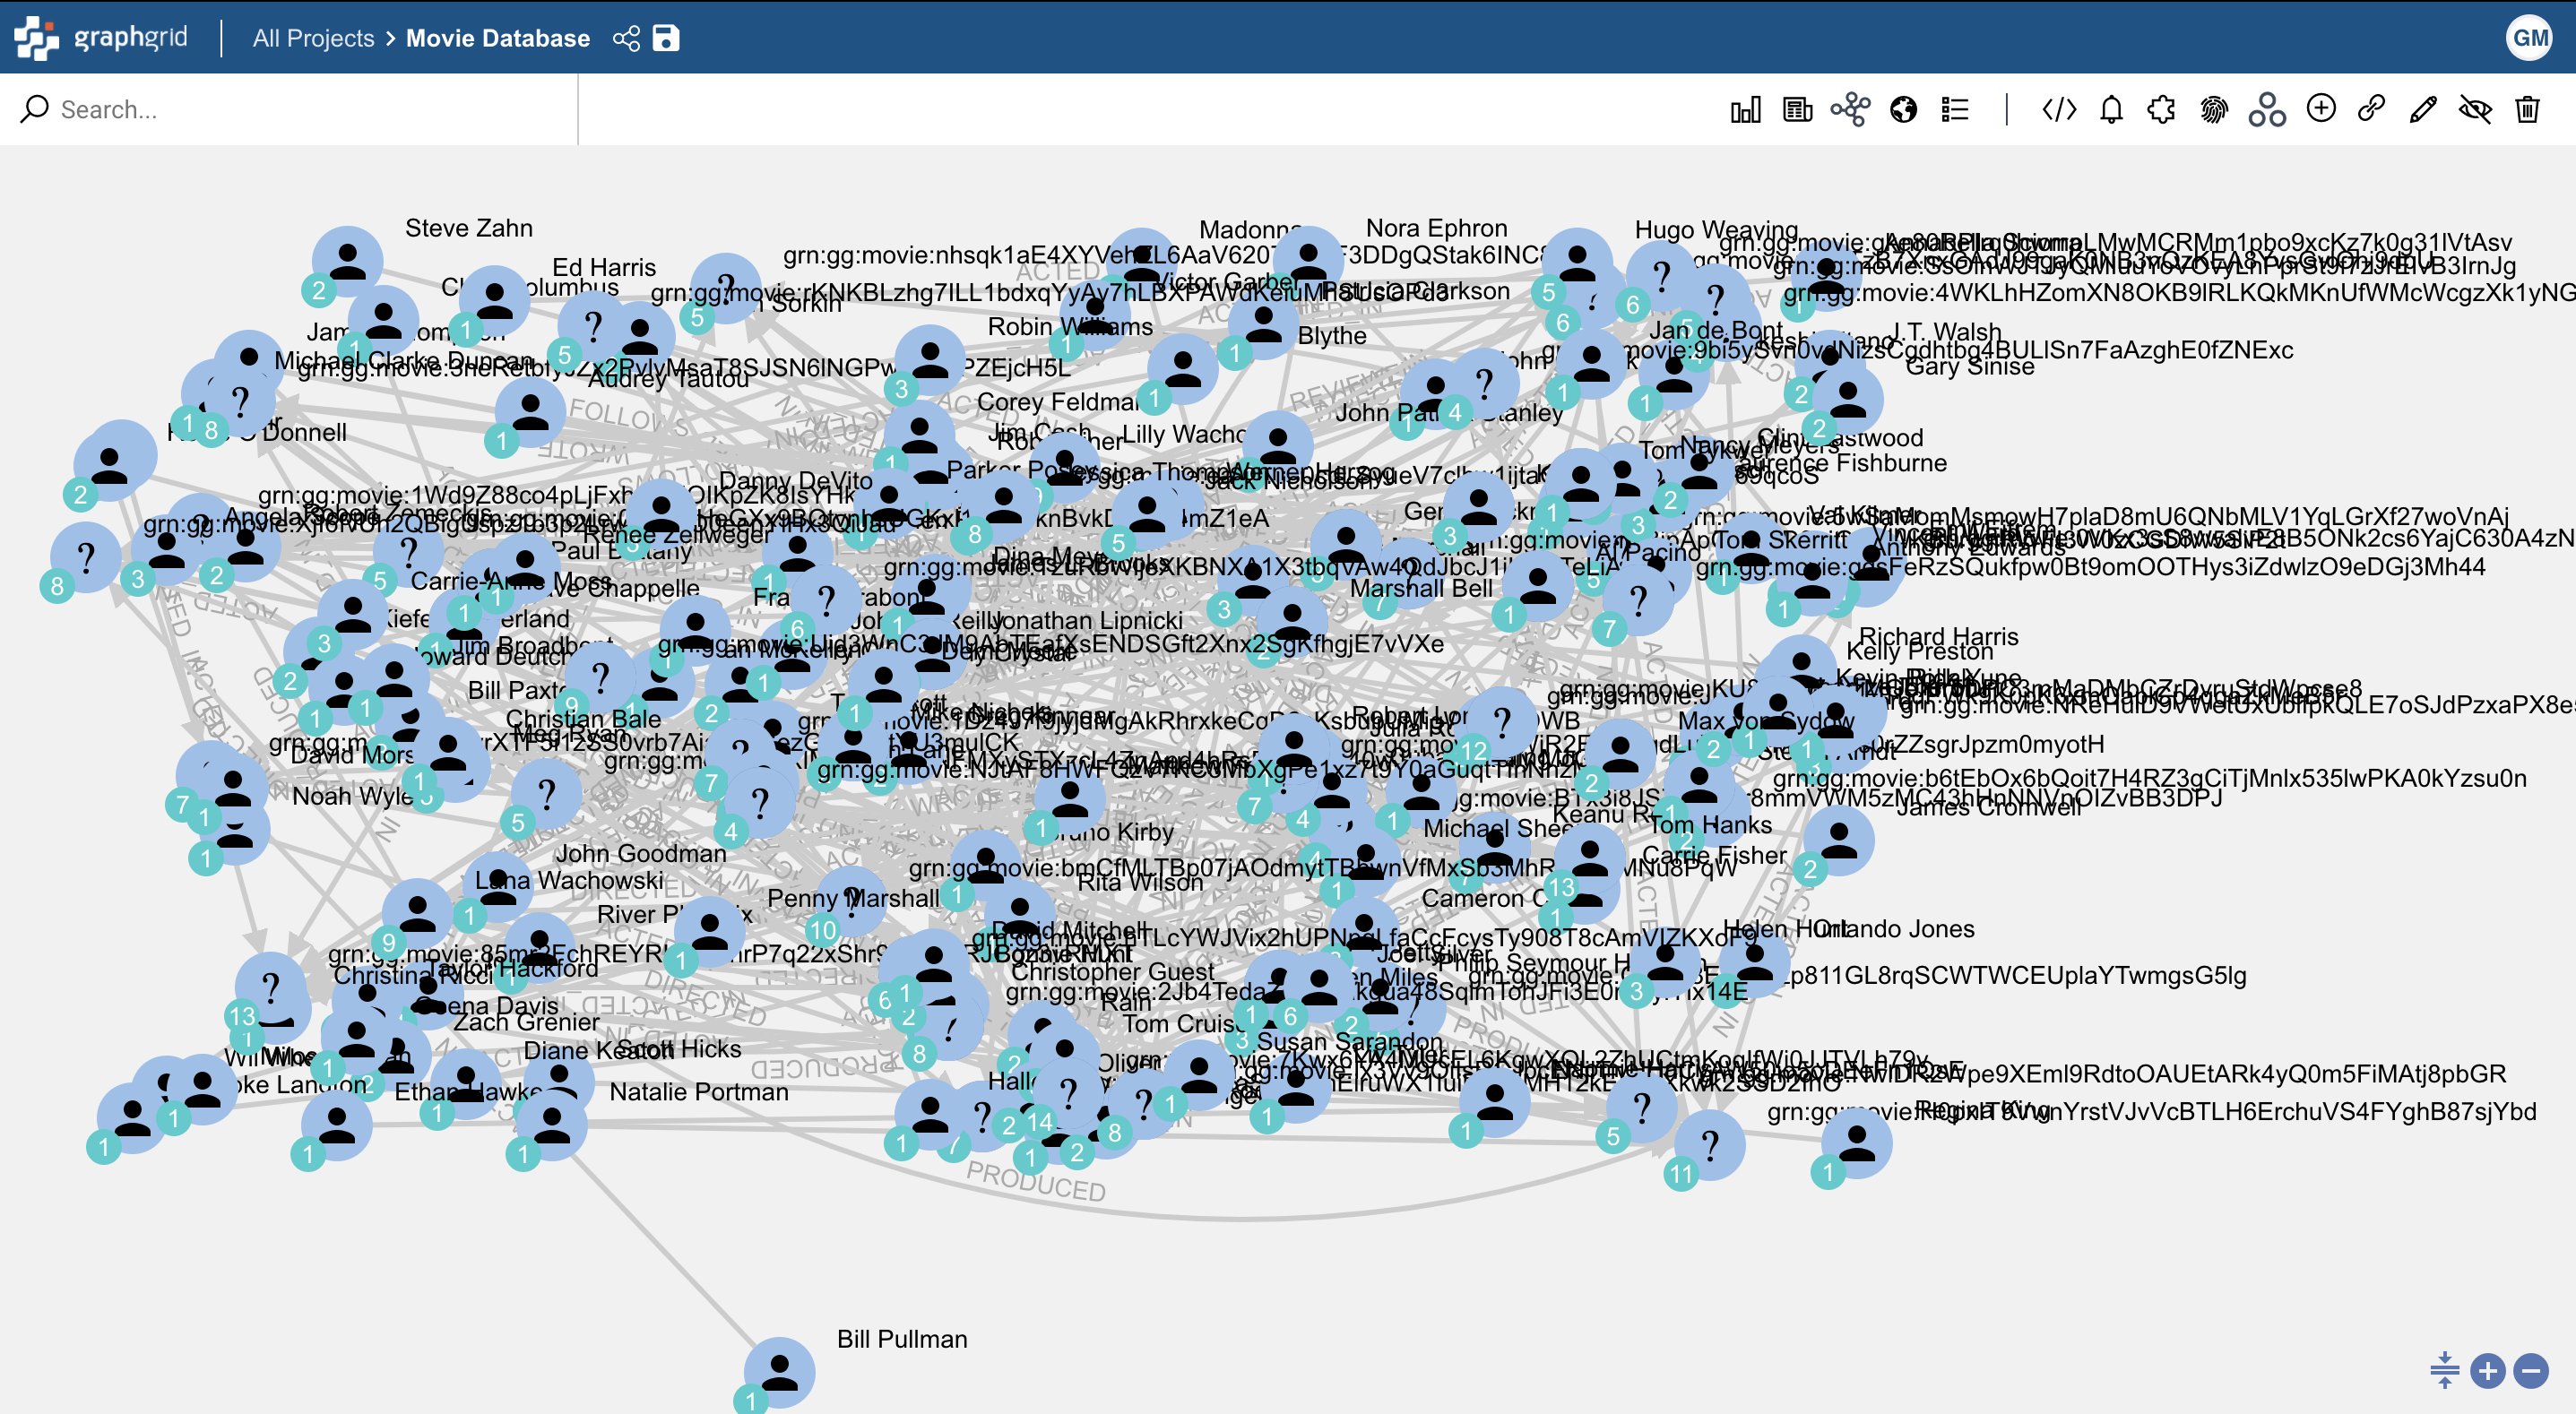
nodes and relationships to the graph.

Your data is now visually represented in the GraphGrid Dashboard!

Up Next: GraphGrid Search Basics
Up Next, learn how to use GraphGrid Search using the Movie Database!
If you don't want to follow along with the walkthrough anymore, you can reset the database.
To wipe the database run this Geequel command:
This will completely wipe all the data from the database.
MATCH (n) DETACH DELETE n
This command will delete resource nodes that are integral for other modules to run properly (i.e. Manager, GraphGridVersion, and GraphGridProjectVersion).
After wiping the database, reset the package to refresh the application and the required resource nodes will be re-created.